
Quilling is the most happening art these days. Right from decoratives to jewellery the art of quilling can be seen everywhere.
The happy part is that quilling neither does require a lot of equipment nor heavy techniques to be created.
It just can be produced using colourful paper strips and glue. In market, quilling strips and machines are available for beginners. Otherwise, quilling can be produced without any machine with a little practice.

So today we will learn How to Create a Photo Frame with Quilling
Materials Required
Colourful Paper Strips
Small Metal Rod
Glue
Hardboard and a Plain Sheet
Step One
Join three to four different coloured paper strips together by pasting their ends with glue. This would create a long paper strip.

Step Two
Take the metallic quilling rod and place it on one end of the long paper strip created in Step One. Start rolling the paper strip on the rod in order to make a spiral, as shown in Pic 2.
Step Three
Paste the other end of the paper strip on the spiral circle that we created in Step Two and as shown in Pic 3.

Create several quilling circles following the same process. You can made the paper strip longer to have a wider circle and to make a smaller circle keep the paper strip smaller.
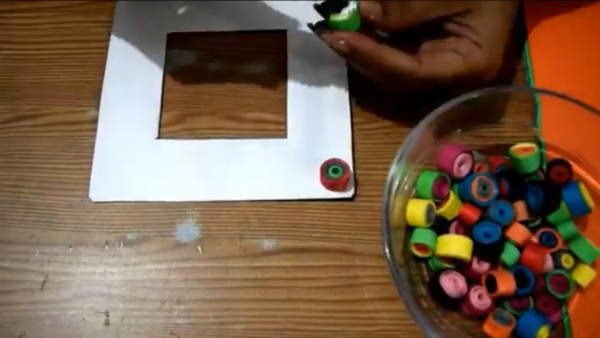
Step Four
Cur the hardboard in rectangular, oval or square shape in the centre and paste a plain sheet of paper on it’s edges.
Let it dry.
Step Five
Now apply Fevicol one the quilling circles that we made and paste them on the photo frame, in the pattern of your choice as shown in Pic 4 and Pic 5.
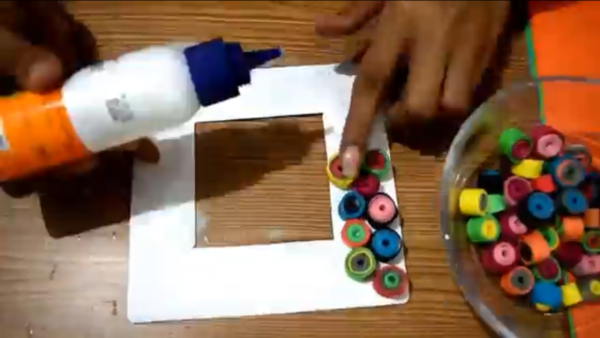
Your quilling photo frame is ready!
You may use it at home or may gift it to a friend, family member or relative.
Watch the entire video here:
To watch more such interesting videos do visit, Like and Subscribe our YouTube Channel: https://www.youtube.com/c/livecreative