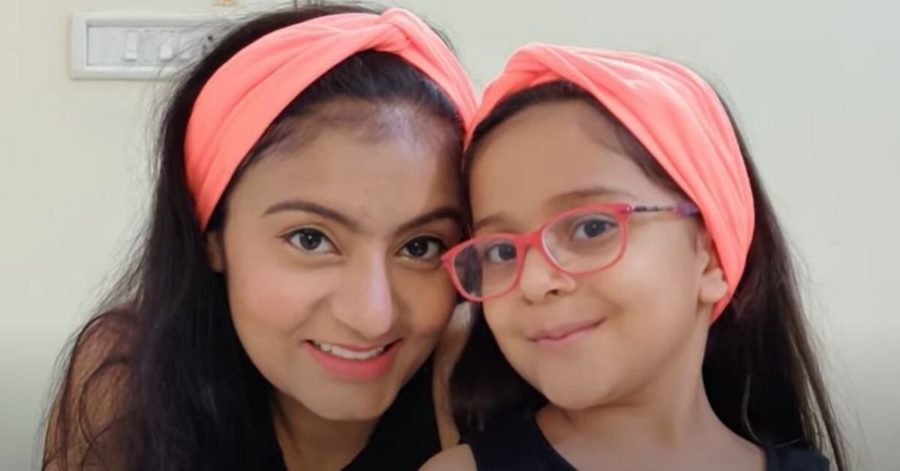
What if I tell you that the headwraps you spent pennies on to buy can easily make them by yourself! Without spending any extra pennies! Just DIY with waste materials. Sounds interesting, right!
So, let’s jump into how you can make DIY headwraps in a simple, easy and, creative way;

Things required-
- Tights
- Thread and Needle
- Safety Pins
- Scissors
You can create two headwraps using one tight
Steps;
- Cut the tight from the middle and make it two pieces, then give it a square shape.
- Take the piece, put it in your hair as a headband coming from the back, then roll for the two times and tuck it at the back.
- Then remove it from your head and put the pins on both sides end, as per your size. You can make the use of safety pins to hold the fabric.
- Then, stitch the ends, where you have used the safety pins using the thread and the needle from the backside, such that no stitches are visible from the front.
- After you are done with the stitching, remove the safety pins.
That’s all, and your Headwrap is ready in just a few minutes.
Also, if you, want you can use pearls or any other decor stuff in your headwraps,
Further Steps for attaching pearls;
- After you are done with removing the safety pins. Then stitch the pearls using the thread and needle.
- Make sure you use the same colour thread that goes with the colour of tight.
Also Check https://youtu.be/FrrN-arL7nM
And that’s it, and you are done
Enjoy making these cute DIY headwraps in a fun and creative way, with your mom, or you are a mom yourself than with your daughter, with your sister, with anyone, or it is that simple and easy, that you can enjoy it by doing yourself.
